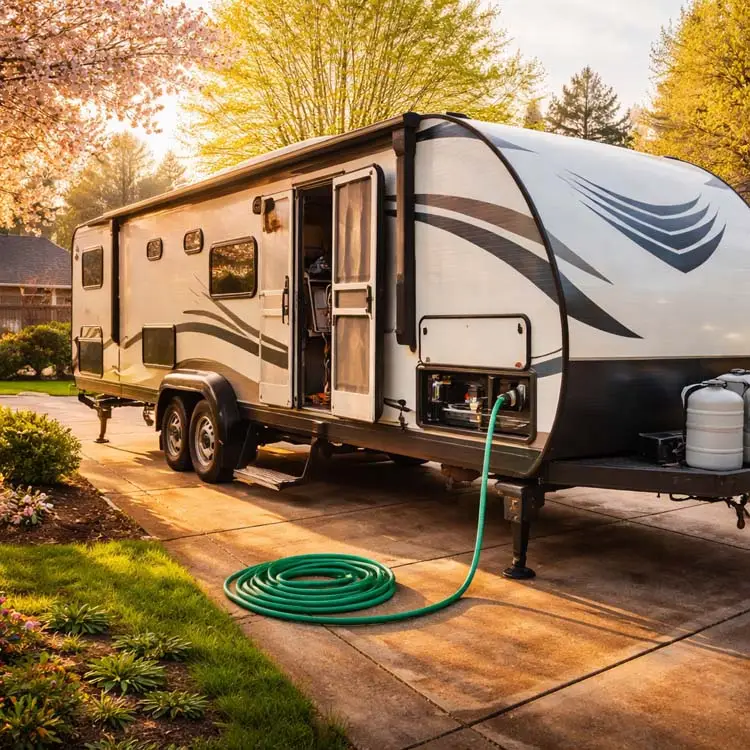
Spring has a way of stirring something in the soul of every traveler. The days grow longer, the roads begin calling, and that travel trailer sitting patiently through winter suddenly feels full of possibility again. But before the first campground reservation turns into campfire memories, there’s one important ritual every RV owner should tackle first: de-winterizing your travel trailer.
If you’ve ever stood beside your rig on the first warm day of the season wondering, Where do I even begin?, you are certainly not alone. For many RV owners—especially those new to the lifestyle—bringing a trailer out of winter storage can feel a little intimidating. The good news is that de-winterizing is far less complicated than it may seem, and once you understand the rhythm of it, it becomes one of those comforting seasonal traditions, much like opening the windows in the house after a long winter.

Why De-Winterizing Your RV Matters
Winterization protects your RV’s plumbing and systems from freezing temperatures, usually by draining water lines and adding non-toxic RV antifreeze. When spring arrives, every one of those protective steps must be carefully reversed.
Skipping this process or rushing through it can lead to leaks, water damage, failed appliances, and costly repairs. Water damage remains one of the most common and expensive issues RV owners face, which makes a thoughtful spring startup essential.
For those of us who have spent years on the road, there is something satisfying about this process. It’s the moment the season officially begins.
Start With a Full Exterior Walkaround
Before touching the water system, begin outside with a slow and deliberate inspection.
Winter weather can be hard on seals, roofs, tires, and trim. Look closely for cracked caulking around windows, roof vents, marker lights, and corner seams. Even the smallest opening can allow moisture inside.
Pay special attention to your tires. Cold weather and long storage periods can reduce tire pressure and sometimes create flat spotting. Check the sidewalls for cracking and verify that the inflation pressure matches the manufacturer’s recommendation.
This is also the perfect time to inspect your battery, especially if it remained installed during storage. Clean any corrosion from the terminals and ensure it is fully charged.

Flush the Antifreeze From the Plumbing System
Now comes the heart of de-winterizing.
Connect your freshwater hose to city water using a pressure regulator and, if possible, an inline water filter. Once connected, begin opening each faucet one at a time.
Start with the cold side, then the hot side, and let the water run until every trace of pink RV antifreeze disappears. Don’t forget the shower, bathroom sink, kitchen faucet, outside shower, and toilet.
This part often takes longer than people expect, and that’s perfectly normal.
Allow water to flow until it runs clear and odor-free. If your rig has low-point drains, open and flush those as well.
A common question many RV owners ask is, How long should I flush the lines?
The answer is simple: keep flushing until the water is completely clear and no pink tint remains anywhere in the system.
Return the Water Heater to Service
One of the most commonly overlooked steps is the water heater bypass valve.
During winterization, most travel trailers have the water heater bypassed so antifreeze does not fill the tank. Before using hot water, that bypass must be returned to the normal operating position.
Check that the drain plug or anode rod is reinstalled securely.
Only after confirming the tank is full of water should you turn on the water heater.
This is incredibly important.
Turning on an empty water heater tank can burn out the heating element almost instantly.
A good habit is to open the hot water faucet and let it run until water flows steadily without sputtering. That confirms the tank has filled.
Sanitize the Fresh Water System
Even if you flushed the antifreeze thoroughly, sanitizing the system is one of the best spring maintenance habits.
A diluted household bleach solution is commonly recommended—usually about 1/4 cup of bleach per 15 gallons of fresh water tank capacity.
Fill the tank, run the solution through every faucet, then let it sit for several hours before draining and flushing with fresh water.
This helps eliminate bacteria and stale odors that may develop during storage.
For many RV owners, this step is the difference between “usable” water and truly fresh-tasting water for the season.
Check Appliances and Safety Systems
Once water is flowing properly, begin testing the systems that keep the trailer comfortable and safe.
Turn on the refrigerator and confirm it cools properly on electric and propane if your model supports both.
Test the furnace, air conditioner, microwave, stove burners, and oven.
Just as importantly, check all safety devices:
- smoke detector
- carbon monoxide detector
- propane leak detector
- fire extinguisher expiration
These items are easy to overlook, yet they matter more than almost anything else.
Frequently Asked Questions About De-Winterizing an RV
How long does it take to de-winterize a travel trailer?
For most travel trailers, the full process usually takes one to two hours, depending on the size of the rig and whether sanitizing is included.
Can I de-winterize without city water?
Yes, you can use the freshwater tank and onboard pump. City water simply makes flushing easier.
When should I de-winterize my RV?
The safest time is when overnight temperatures consistently remain above freezing in your area. Here in Michigan, that often means waiting until spring has firmly settled in.
Do I need to sanitize every year?
Absolutely. It is one of the most searched RV spring maintenance questions for good reason, and it is strongly recommended every season.

Final Thoughts
There’s something special about that first spring afternoon spent getting the trailer ready. It’s more than maintenance—it’s anticipation.
Every hose connection, every faucet flushed, every system checked is one step closer to open roads, quiet campgrounds, and the stories that only come from taking the long way around.
Much like Grandma Cooper always believed, the journey often begins long before the wheels start rolling.
Sometimes it begins right in the driveway.
And in a way, de-winterizing your RV is the first chapter of this year’s next great Cooper Shortcut.
YOU MAY ALSO LIKE:
RV Tail Swing Mistakes to Avoid
Hand Packing Trailer Wheel Bearings & Brake Inspection Tips




Leave a Reply