

I don’t know about you, but springtime RV maintenance is my favorite time of year. While I’ll admit that RV maintenance itself isn’t always a thrill, springtime maintenance means one exciting thing — we’re going camping soon! After months (or even years) in storage, getting your RV road-ready can feel a little overwhelming. Whether it’s been sitting in your driveway or parked at a storage facility, long-term storage can lead to flat tires, dead batteries, and even some unwelcome critters. But don’t worry — with a solid plan and a little elbow grease, you can have your RV ready to roll in no time. In this guide, we’ll walk you through the essential steps to safely and effectively remove your RV from long-term storage. From checking the tires to flushing the water system, you’ll find everything you need to hit the road with confidence.

Step 1: Inspect the Exterior
Before you even think about turning on the engine, start with a thorough inspection of the exterior. The elements can take a toll on your RV over time, so you’ll want to check for any visible damage or signs of wear.
✅ Look for Cracks, Leaks, and Rust
- Inspect the roof, sidewalls, and seams for cracks, splits, or peeling sealant.
- Look for signs of water damage, like soft spots or discoloration.
- Check around windows and doors for loose or missing seals.
✅ Check for Pest Damage
- Rodents love to nest in RVs during the off-season.
- Look for chewed wiring, droppings, or signs of nesting material.
✅ Clean and Protect the Exterior
- Give your RV a good wash using an RV-safe cleaner.
- Apply a UV protectant to help prevent fading and cracking.
Step 2: Inspect and Inflate the Tires
RV tires can lose pressure over time, and sitting stationary for months can create flat spots or even internal damage.
What to Check:
✔️ Tire pressure – Inflate all tires to the recommended PSI listed in your RV manual.
✔️ Sidewall condition – Look for cracks, dry rot, or bulges.
✔️ Tread depth – Uneven wear could signal an alignment issue.
👉 Pro Tip: If your tires are more than 5 years old, consider replacing them—even if they look fine.
Step 3: Check the Battery and Electrical System
A dead battery is one of the most common issues when pulling an RV out of storage. Batteries lose charge over time, especially in cold weather.
How to Test and Restore:
- Check the voltage using a multimeter.
- Charge the battery if it’s low, or replace it if it’s more than 4–5 years old.
- Inspect battery terminals for corrosion and clean them with a wire brush if needed.
- Test all interior and exterior lights, including brake lights and turn signals.
👉 Pro Tip: If you removed the battery for winter storage, reconnect it and make sure all connections are tight and secure.
Step 4: Inspect and Test the Propane System
A malfunctioning propane system can be dangerous, so you’ll want to handle this step carefully.
🔥 How to Check the Propane System:
- Reconnect any propane tanks if you removed them for storage.
- Turn on the propane and check for leaks using a leak detection solution or soapy water.
- Test appliances like the stove and water heater to ensure they’re working properly.
👉 Safety Tip: If you detect a leak, turn off the propane immediately and have a professional inspect the system.
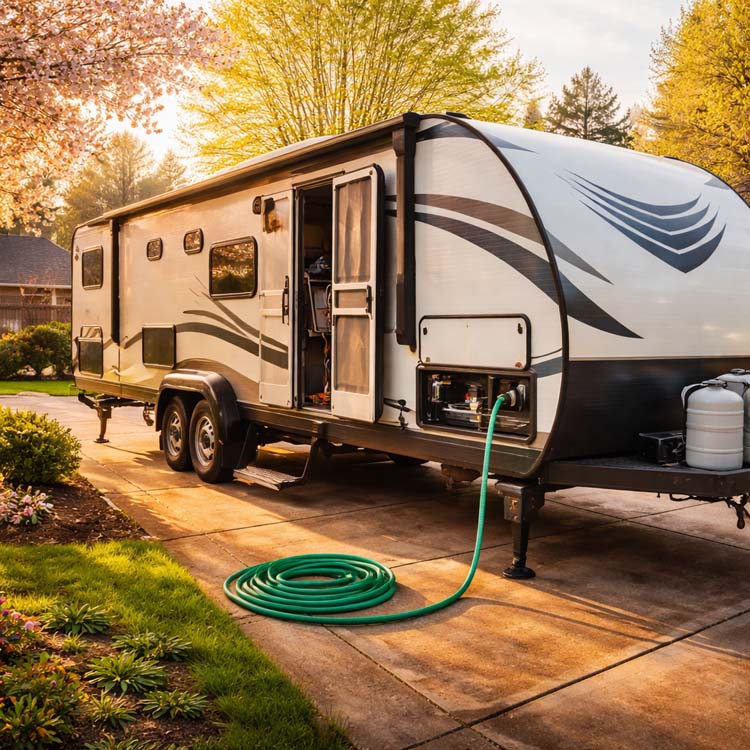
Step 5: Flush and Sanitize the Water System
Stale water can lead to bad odors and bacteria growth.
How to Flush the System:
- Open all faucets and run clean water through the system.
- Add an RV-safe bleach solution (1 cup of bleach per 15 gallons of water).
- Let it sit for 4–12 hours.
- Flush the system with clean water until the bleach smell is gone.
👉 Pro Tip: Check for leaks under sinks and around the water pump while flushing the system.
Step 6: Test the Generator
A neglected generator can cause big headaches when you need it most.
⚡ How to Test and Maintain the Generator:
- Check the oil level and top off if needed.
- Start the generator and let it run for at least 30 minutes under a load (like running the air conditioner).
- Clean the air filter and replace it if necessary.
Step 7: Inspect the Engine and Fluids
If your RV has a motor, you’ll want to ensure the engine is in top shape before hitting the road.
🛠️ What to Check:
✔️ Oil level and condition – Change the oil if it’s dirty or more than 6 months old.
✔️ Transmission fluid – Make sure it’s at the proper level and clean.
✔️ Coolant level – Top off the radiator and check for any leaks.
✔️ Brake fluid – Make sure the brake pedal feels firm.
✔️ Belts and hoses – Look for cracks, fraying, or loose connections.
Step 8: Check the Interior
Now that the mechanical side is covered, it’s time to freshen up the living space.
What to Clean and Restore:
- Open windows and air out the RV to eliminate musty odors.
- Wipe down all surfaces with a disinfectant.
- Check for signs of mold or mildew—clean with a vinegar solution if necessary.
- Test smoke and carbon monoxide detectors—replace batteries if needed.
Step 9: Restock the Essentials
After a long storage period, you’ll need to refill the basics.
Packing Checklist:
✔️ Toilet paper (RV-safe)
✔️ Fresh linens and towels
✔️ Cooking supplies and utensils
✔️ First aid kit
✔️ Cleaning supplies
✔️ Snacks and pantry staples
👉 Pro Tip: Don’t forget to refill your fresh water tank and dump any leftover wastewater.

Step 10: Take It for a Test Drive
Before hitting the highway, take your RV for a short drive.
What to Test:
- Brakes – Ensure they’re responsive and not making unusual noises.
- Steering – Make sure the steering feels tight and responsive.
- Suspension – Listen for rattling or squeaking.
👉 Safety Tip: Test the RV on both city streets and highways to make sure it handles well at different speeds.
Conclusion
Removing your RV from long-term storage doesn’t have to be stressful. By following this step-by-step guide, you’ll ensure your RV is road-ready and safe for your next adventure. From inspecting the tires to testing the generator, taking the time to prep your RV will save you from headaches and breakdowns down the road.
So, give your RV the attention it deserves, and get ready to make new memories on the open road!
YOU MAY ALSO LIKE:
How to Choose the Perfect First Travel Trailer
DIY RV Upgrades to Transform Your Travel Experience


Leave a Reply